
Analytics shows what happened after a campaign was configured. Delivery tests help you check whether a sender reaches the expected inbox. Zero values or an empty state can be normal when there has been no eligible activity.
Review campaign analytics
- Open Analytics from the left navigation for workspace reporting, or open a campaign and select Analytics.
- Choose the date range from the date control.
- Compare sent, delivered, bounced, opened, clicked, replied, positive, and opportunity metrics that the view provides.
- Segment by campaign, sender, or status where available.
- Open related leads or Unibox threads before deciding that a metric is actionable.
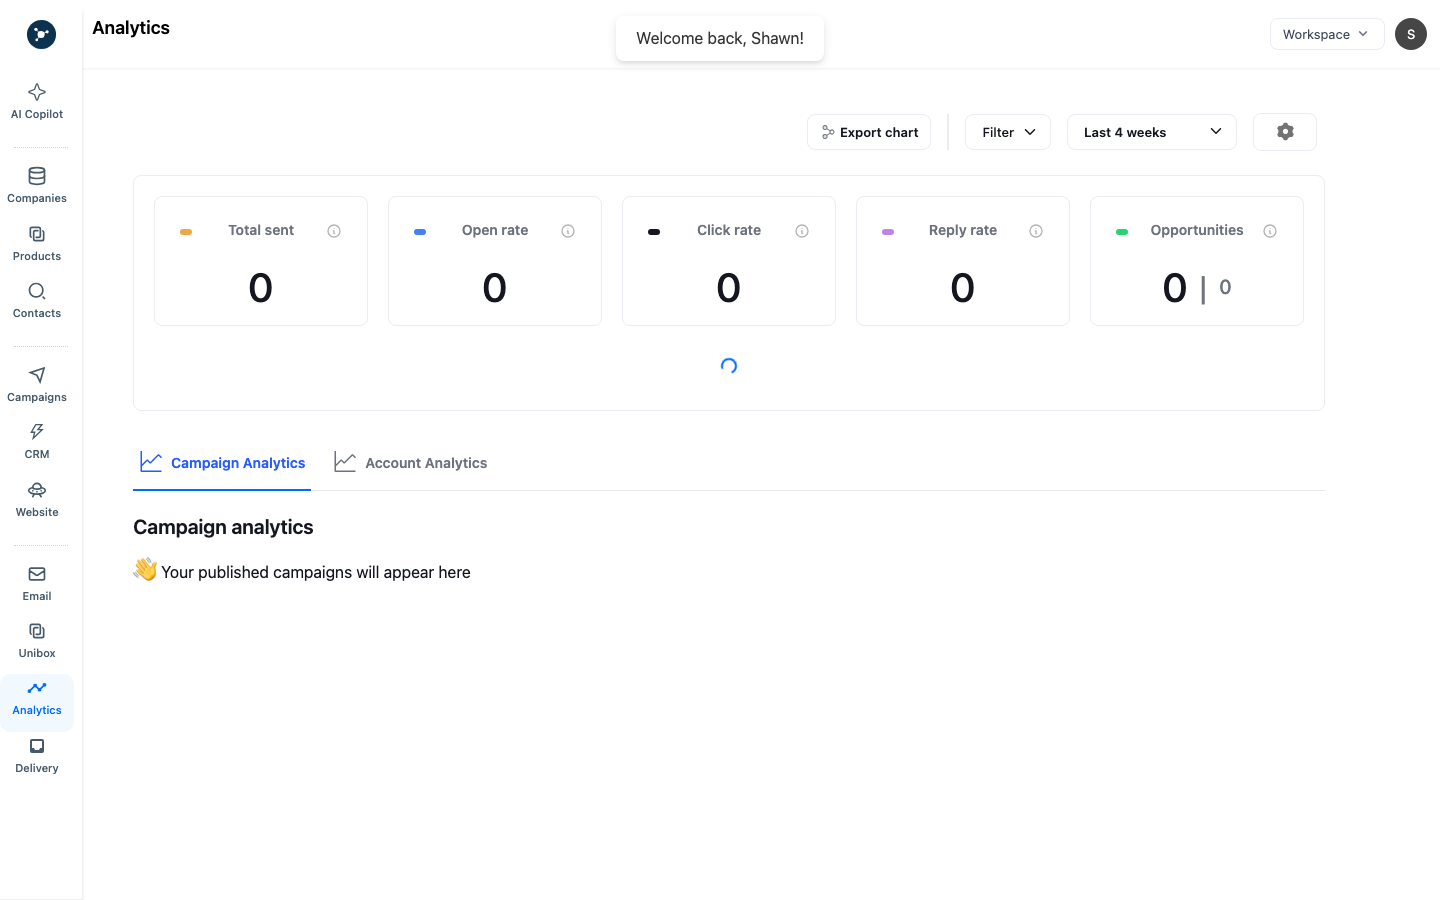
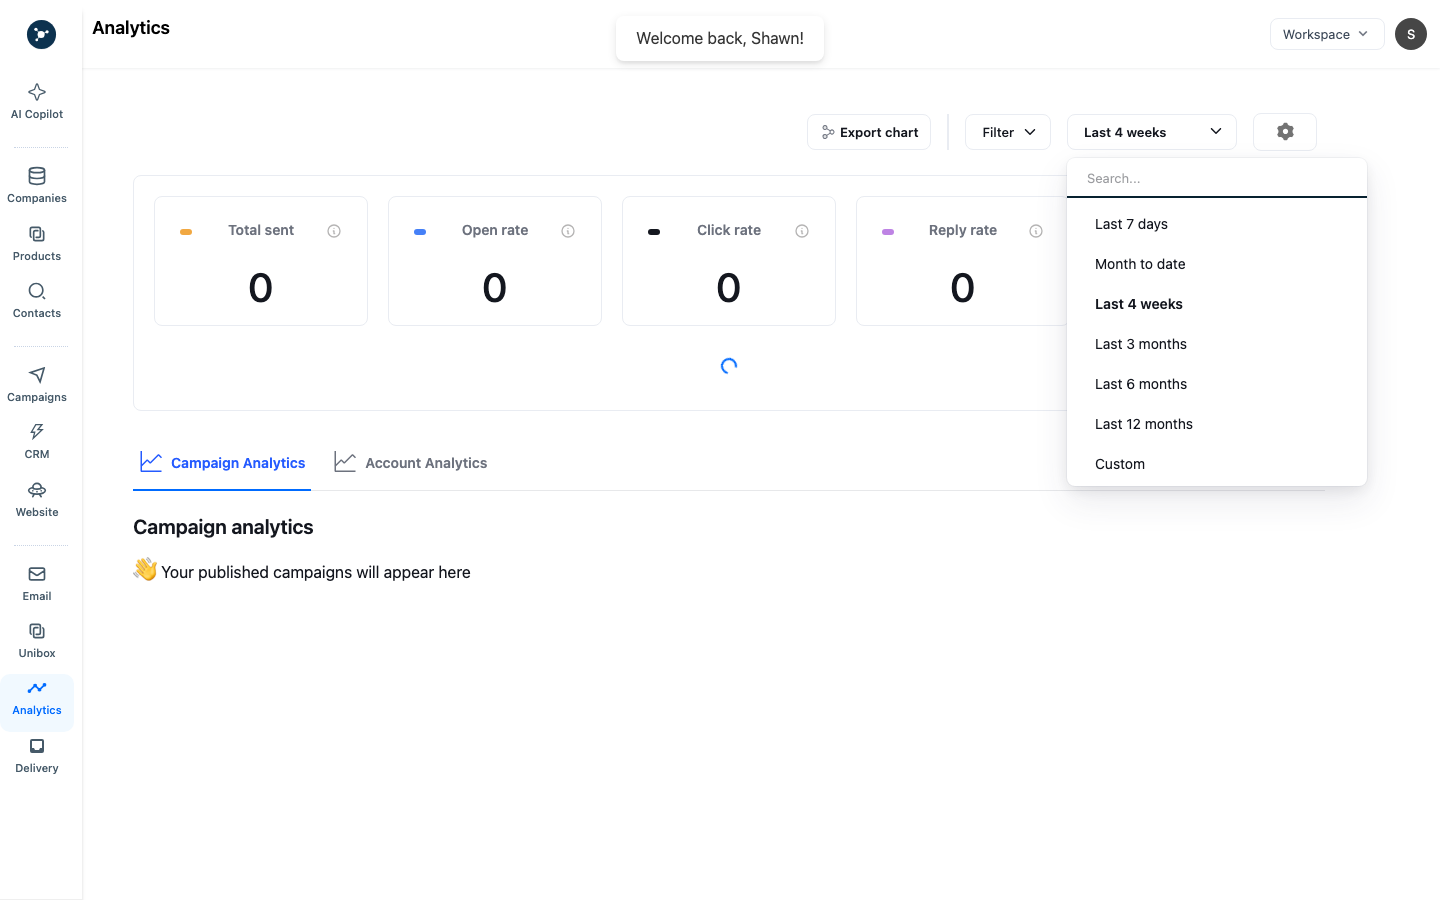
The date menu changes the reporting window, not the campaign schedule. Zero metrics may mean that nothing was sent in the selected range; they do not necessarily indicate an outage.
Run a delivery or inbox-placement test
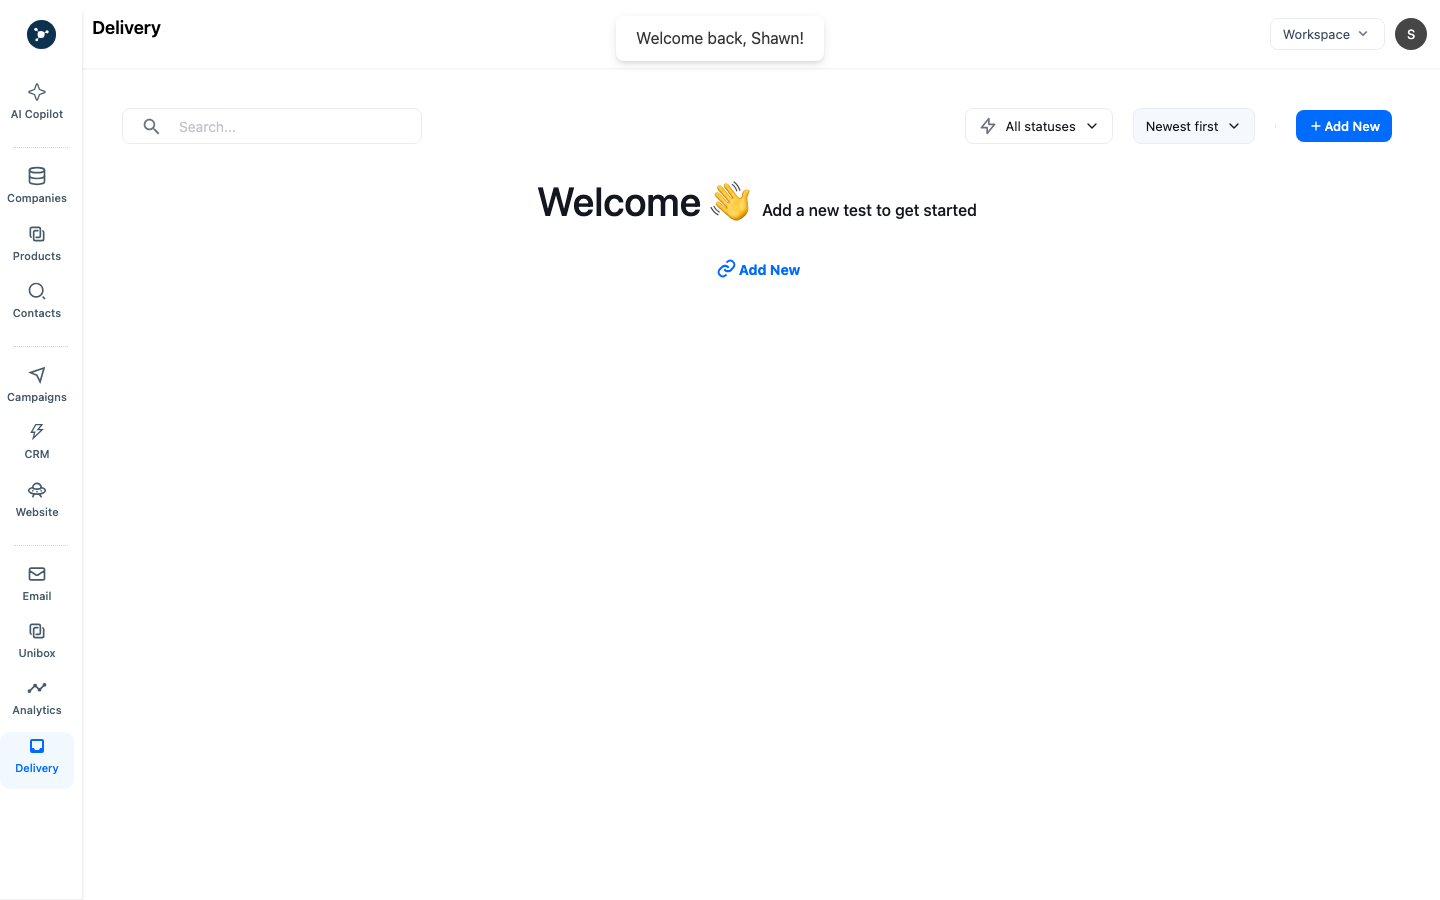
- Open Inbox Placement or the delivery-test area.
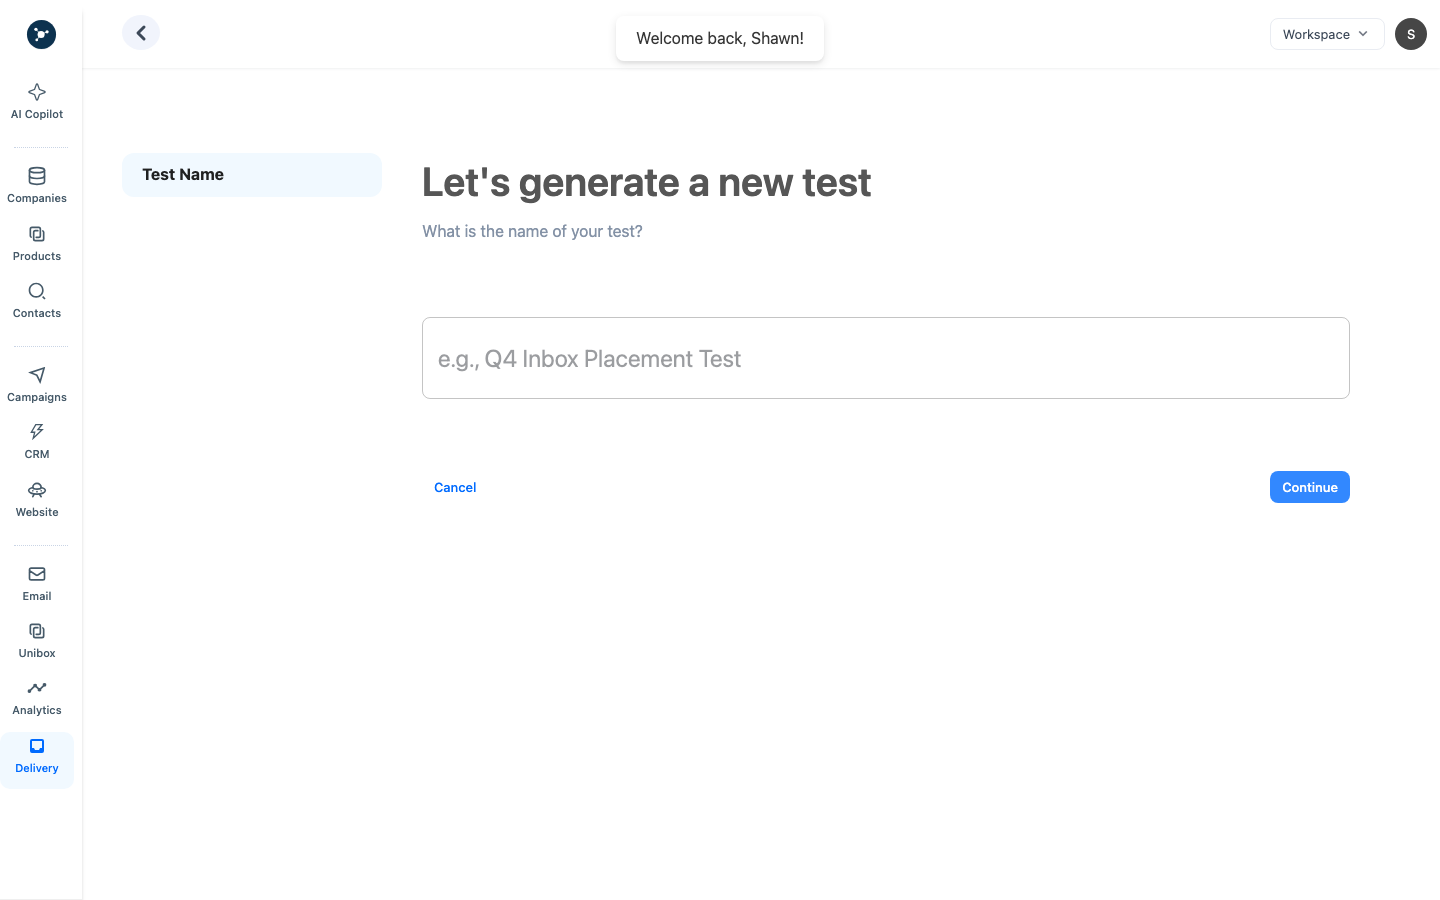
- Select Create test.
- Choose the sender/account and test configuration shown by the modal.
- Confirm recipients and test addresses before submitting.
- Start the test and wait for results; an empty test list is not a passing result.
- Review placement, failures, provider responses, and the tested sender before increasing campaign volume.
Troubleshooting
- Analytics is empty: verify date range, campaign selection, account timezone, and whether sends occurred.
- Open rate is unexpected: check tracking settings, text-only delivery, privacy protections, and the denominator.
- Delivery test fails: confirm sender authorization, test addresses, DNS/provider settings, and test status.
- Campaign and analytics disagree: check whether the views use different date ranges, historical opportunities, or lead-status rules.
What happens next
Use the information to adjust audience, sender health, schedule, or message quality. Do not increase volume solely because a metric looks positive; verify replies, bounces, and provider status first.
Analytics field guide
| Area | What it shows | Review action |
|---|---|---|
| Date range | The reporting window used by the cards and table. | Select a range that includes the send or test time. |
| Campaign | The campaign or draft selected for analysis. | Confirm the audience and sender before comparing metrics. |
| Delivery metrics | Queued, sent, delivered, bounced, opened, clicked, replied, and opportunity values when available. | Compare counts with the eligible audience. |
| Delivery or placement test | A test result for the selected sender and message. | Check status, response time, and visible failure detail. |
Step-by-step review
- Open Analytics and select the campaign.
- Set the date range and timezone shown by the date control.
- Read the summary cards, then open the detailed delivery view.
- Compare sent and delivered counts with the campaign’s eligible leads.
- Open a failed row or test result, record the visible error, and fix the sender, DNS, content, or schedule before retrying.
- Reopen Analytics after the next event and confirm the count and timestamp changed.
An empty report can mean the range excludes the send, the campaign has no eligible leads, or data is still processing. Do not interpret an empty chart as zero demand until those conditions are checked.