
An AI agent is a saved setup for a repeatable job, such as research, reply drafting, or CRM work. Give it clear instructions, limit what it can access, and keep a review step before it changes records or sends messages.
Before you begin
Write down the job, the records or sources the agent may use, the result you expect, and the actions that need approval. Remove passwords, API keys, and personal data that the agent does not need. Check that your plan includes AI-agent access.
Create the agent
- Open AI Agent from the left navigation.
- Select Add New. If this is your first agent, the page will show an empty state.
- Enter the name in AI Agent Name and continue to the configuration form.
- Add instructions that explain the input, permitted sources, output format, and when the agent must stop.
- Select only the tools and data sources required for the job.
- Save the draft and read it again as someone who will run the process.
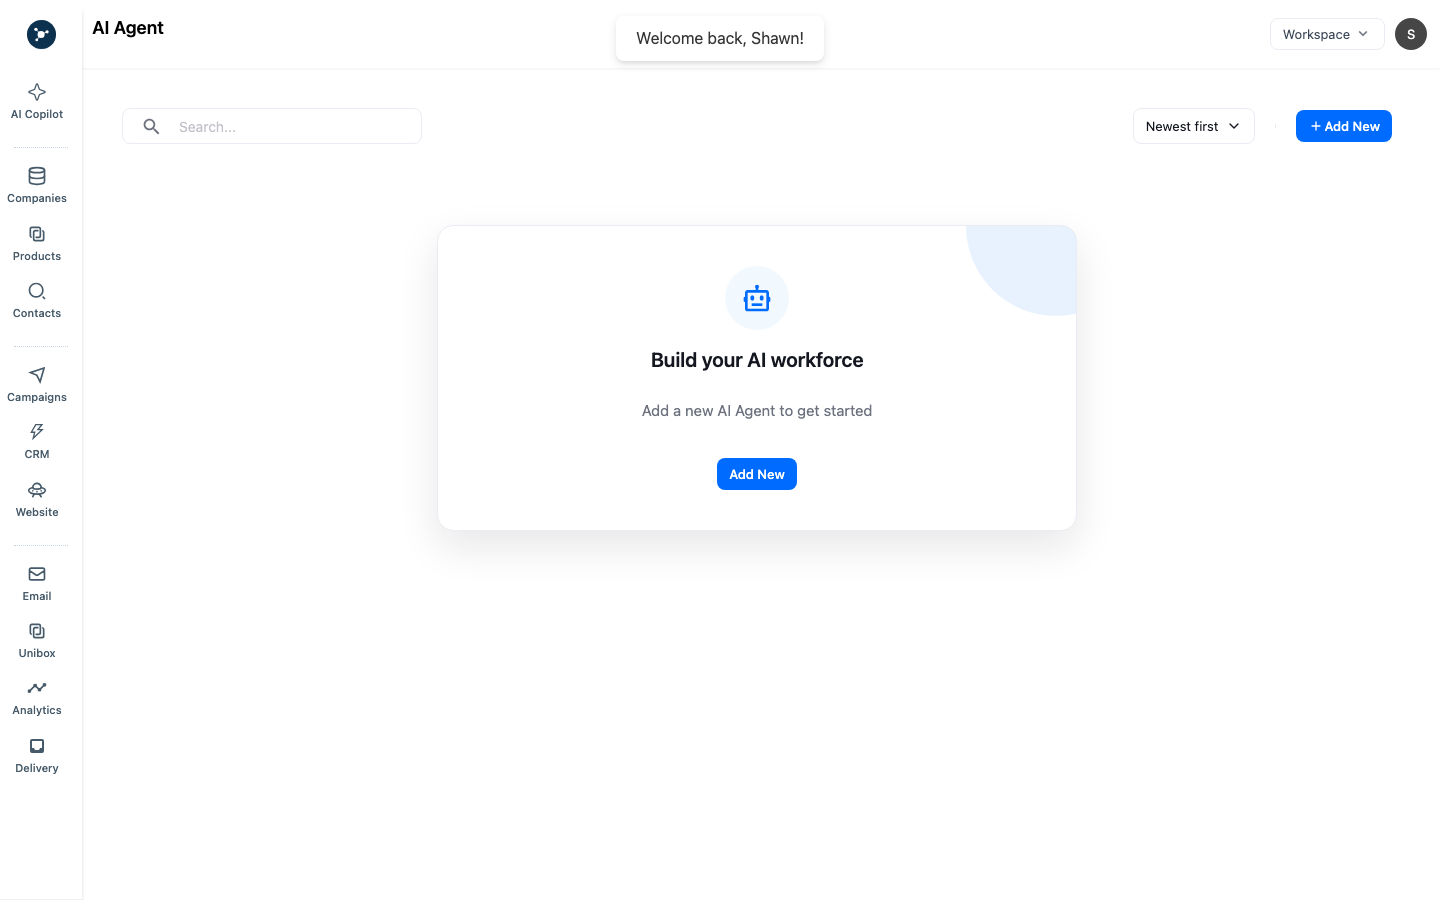
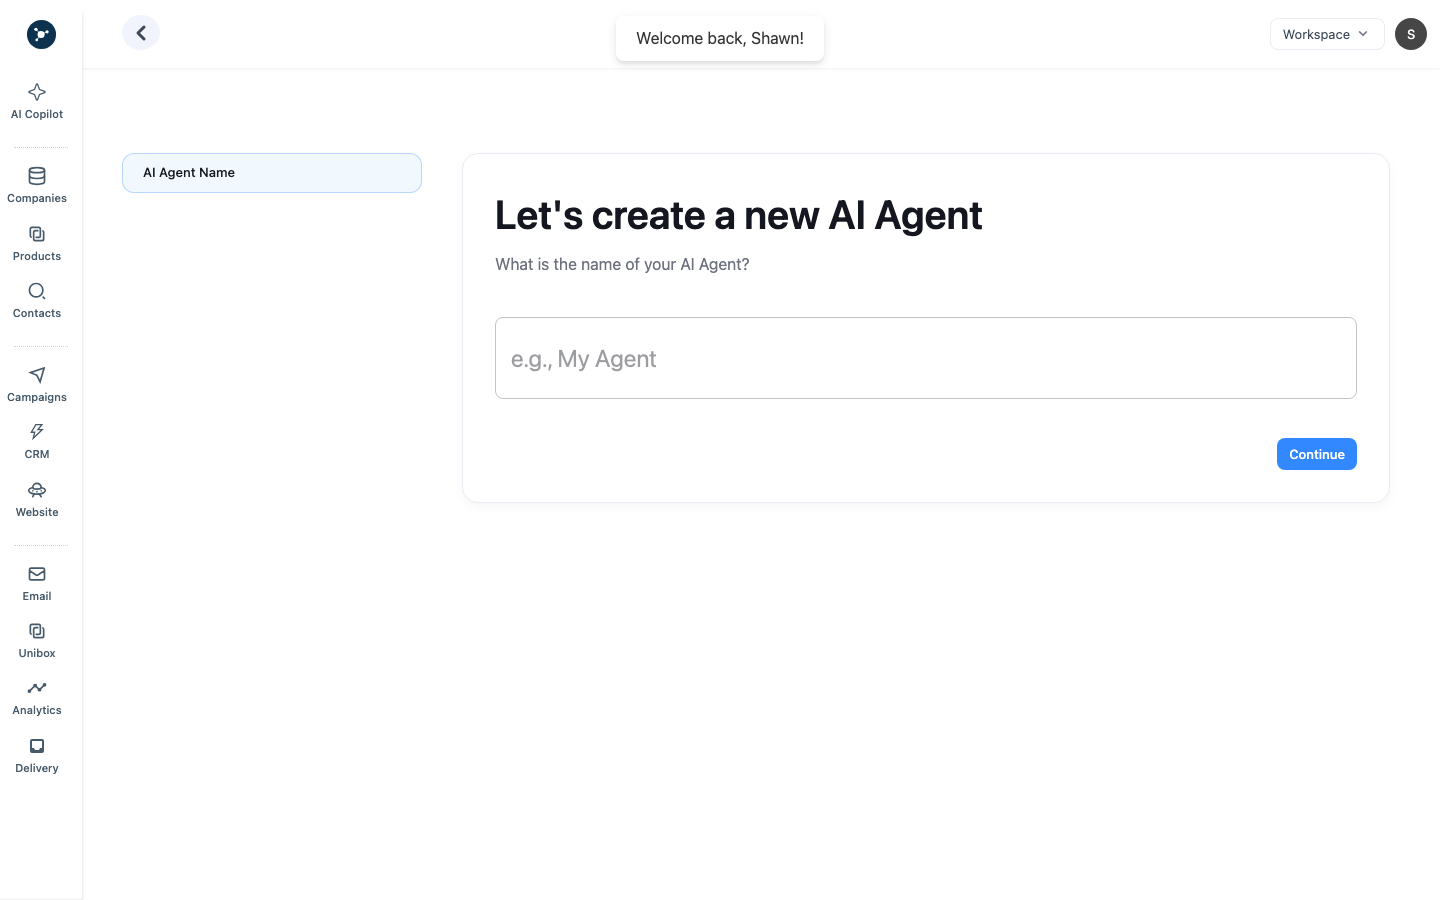
The modal is only the setup form. An empty form is normal until you enter the required details; it does not mean the agent was created.
Review before enabling
Make sure the instructions cannot expand their own permissions, the selected tools fit the job, and the result has a clear destination. Test with a safe record or a known example. Confirm that errors are visible and that a user can stop or disable a run.
If important actions still need approval, say so in the agent description and operating notes. Do not call the agent fully autonomous when it is not.
Operate safely
Review each run’s inputs, sources, results, and errors. Check names, domains, contacts, and CRM fields before adding them to your records. For outreach, check the sender, audience, schedule, and message separately from the agent settings.
Access may depend on your plan, available models, tool permissions, input size, and AI credits. If creation or execution fails, save the redacted error and agent or run ID. Do not include tokens or private exports in a support request.
What happens next
Use the tested agent for a narrow workflow, then expand its scope only after reviewing real outputs. For interactive research and durable artifacts, see Use Copilot and Deep Research.
Fields and behavior
| Field | Required | What to enter |
|---|---|---|
| Agent name | Yes | A short name that identifies the job in the AI Agent list. |
| Instructions | Yes | The task, scope, output format, and conditions under which the agent must stop. |
| Tools or data sources | Workspace dependent | Select only the sources shown in the create dialog and needed for the task. |
| Review or approval | When shown | Keep approval enabled while testing outputs or actions that affect records or messages. |
Test, review, and enable
- Open AI Agent from the navigation and choose Add New.
- Enter the name in AI Agent Name and add instructions. State which company, contact, campaign, or document the agent may use.
- Select the available tools and save the draft.
- Run the agent with a representative record. Check that the output cites the correct record, follows the requested format, and does not invent missing fields.
- Edit the instructions when the output is ambiguous, run the same test again, and compare the result.
- Enable the agent only after the review result is acceptable. Reopen the agent list and confirm the visible enabled state.
Failures and recovery
If creation fails, check the required name and instruction fields. If a run has no output, confirm the input record and wait for the job state to finish. If a tool is unavailable, remove that tool from the instructions and test with the data sources shown in the dialog. Disable the agent before changing instructions that could affect future runs.